
TL;DR
For most acoustic guitar compression you should focus on 3-5 db gain reduction, a medium attack (3-8 milliseconds) and a release time that works with the tempo of the performance (use Tuneform)
If you’re a guitar player recording from home, you must know how to use compression.
Compressors are essential for getting that perfect sound out of your acoustic guitar and elevating your recordings to a professional level.
But what settings should you use? Get this wrong, and you’ll end up with a mess that won’t sound natural to any listener.
By the end of this easy-to-digest post, you’ll have actionable tips on how to use this often misunderstood tool to get great results and inspire you to keep making music.
Let’s get started!
What Makes Acoustic Guitars Hard to Mix?
Recording and mixing acoustic guitars isn’t easy compared to other instruments. Acoustic guitars are highly dynamic instruments, have lots of resonance, and the recordings often pick up much of the room.
So when you go to add a compressor to natural-sounding instruments like acoustic, you often bring forward unwanted string noises, squeaky guitar chairs, and room ambiance.
So it’s critical to have a clean recording that doesn’t have excessive noise before reaching for a compressor to make your acoustic guitar sound fantastic.
How to Listen to Compression on an Acoustic Guitar
It’s critical to know why you want to use acoustic guitar compression. It’s crucial to remember that compression affects the back-and-forth motion of a sound within the stereo field.
Louder sounds = more in your face
Quieter sounds = fall more into the background
Suppose you’re a singer-songwriter that is primarily strumming cowboy chords over a lead vocal. In that case, you may want to preserve some dynamic movement. In this case, using heavy compression will suck the life out of your performance and kill the natural sound of your performance.
However, let’s say you are playing fingerstyle acoustic guitar. In this case, you may have different dynamics between each plucked note. In this case, you will want more dynamic control to keep your acoustic guitar track from sounding sloppy. A compressor will help “smooth” out the notes to ensure clarity and balance.
If listening to compression seems foreign to you, remember these simple guidelines:
The more dense a mix, the less dynamic range you want to ensure the acoustic guitar sits in one place in the stereo field.
The less-dense a mix, the more dynamic range you want to allow your acoustic guitar to breathe and move.
The Type of Compressors that Usually Work for Acoustic Guitar
Okay, now that we have figured out why we want to compress our acoustic guitar recording, we can start thinking about the tools we need to get the sound we want.
While any stock plugin compressor can work, some types of audio compressors just work when it comes to compressing an acoustic guitar.
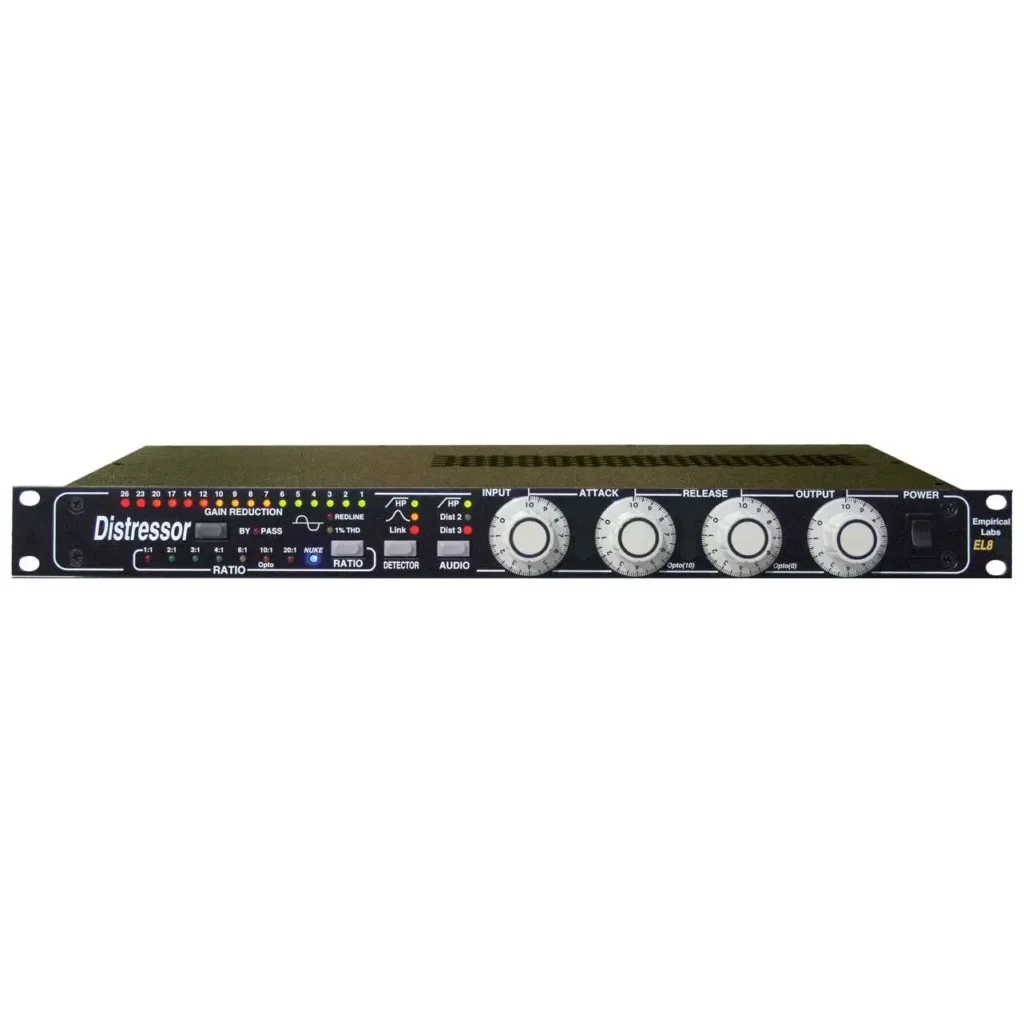
An 1176-style compressor is a great all-around compressor for acoustic guitar. 1176s’ have a fast and snappy sound, which can be great for fingerstyle and a strummed acoustic guitar.
An LA2A optical compressor is also a great option if you are playing more drawn-out chords that don’t involve much intricate and fast playing.
The beauty of both these styles of compressors is that most DAWs include a free version of them in some form, or you can purchase premium plugin versions from many different manufacturers or even buy the hardware if you choose.
- This swiss-army-knife is a modern classic
- Can emulate the compression styles of many different compressors, including the 1176 and LA2A
- Can add really lovely color and analog mojo to your acoustic track
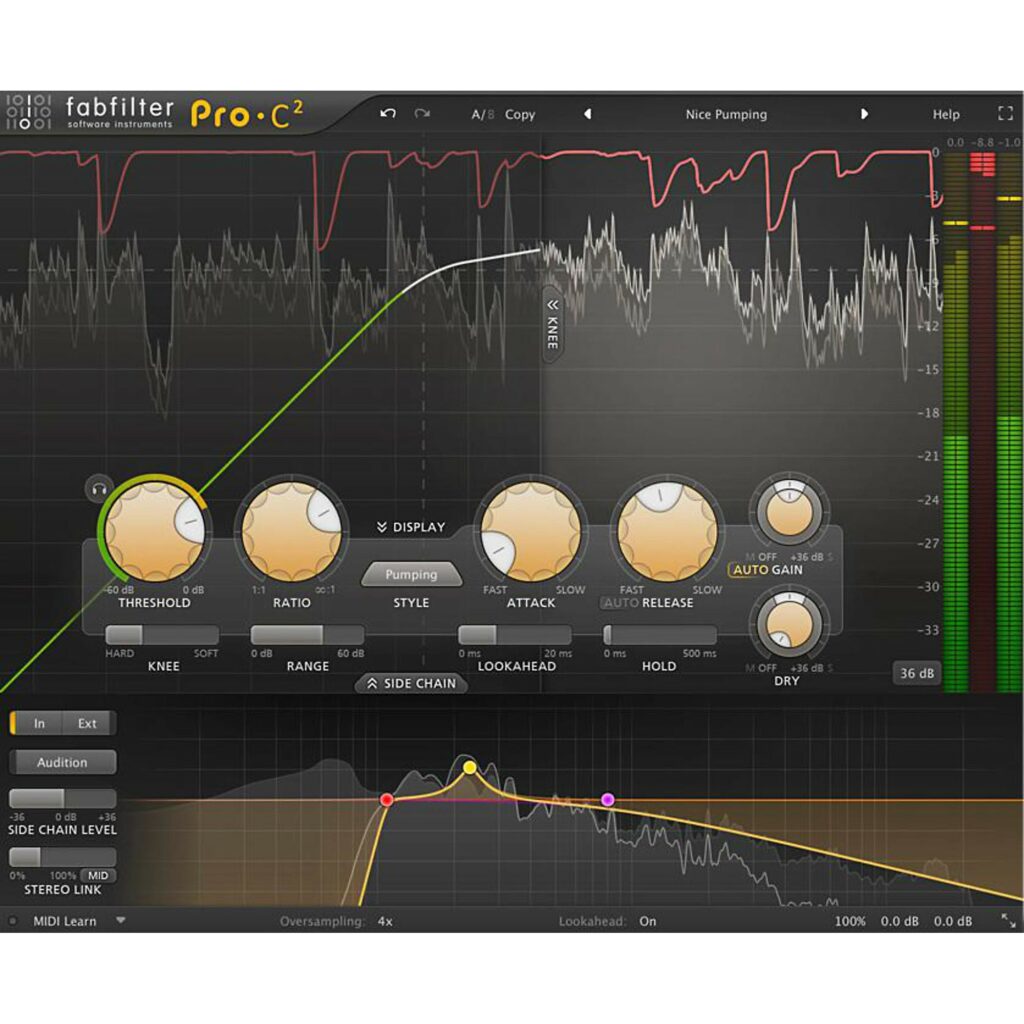
- A very versatile compressor that has multiple compression styles, visual aids, and many modern features that make this compressor best in class
- Can do basic to advanced compression with ease
- Works with both Mac and PC and is compatible with any DAW
How Much Gain Should You Reduce?
A good rule of thumb is to keep the gain reduction meter dancing around 3-5 dB of reduction. You’ll adjust this with the input knob or threshold.
Anything beyond that, you’ll start to squash the sound and can introduce undesirable artifacts.
Also, be sure to use make-up gain, or output gain, to level match the loudest peak of the uncompressed source.
How to Compress Strummed Acoustic Guitars
For most home studio guitarists, you probably record vocals and rhythm guitars with either an acoustic or electric guitar.
A strummed acoustic guitar part usually has fewer dynamics depending on if you use a pick or your fingers. Because of this, you often can get away with using less compression.
The following suggestions are simply best practices. However, recording music is an art form so if you want to push the limits and break the rules, then go for it!
Ratio
The ratio corresponds with how aggressively the compressor reacts to a sound. With a higher ratio, you get more gain reduction, giving you a more aggressive and squashed sound.
This can work well for a picked acoustic guitar sound where you want to keep the transient energy (peaks of sound) from poking out from the entire mix.
However, suppose you’re trying to keep a natural sound to your recording. In that case, you’ll want to be conservative on the ratio amount to preserve the organic vibe of a strummed guitar.
For strummed guitars, a low ratio of 2/1 or 4/1 is a great starting spot that should work for most applications. As you get into more aggressive ratios, you’ll start to hear the acoustic guitar compression, which could distract the listener from enjoying a song, depending on the style and genre.
Attack and Release
The attack and release compressor settings help shape the stereo image of a sound.
When trying to compress a strummed or flatpicked acoustic guitar, you generally want a medium attack and fast release.
If you use a faster attack, the more transient energy you’ll shave off. This reduction in the transient response of a waveform will push the sound back into the stereo field and soften the sound. This could work well with solo performances, but you could negatively affect the clarity in a denser mix.
In most cases, with acoustic instruments, you want to control the dynamics without killing the vibe. A medium attack will allow some transient energy to push out towards the listener and keep the sound exciting. It also will keep it tamed enough to not conflict with more critical sounds like vocals (which should sit up front in a mix).
The fast release will allow a strummed acoustic guitar to stay “snappy” and not create a “soupy mess” between hits and chord transitions. The slower the release, the more the backend room resonances and string noises will be brought up and affect the clarity of your instrument.
For strummed guitars, hit 3-5 dB of gain reduction, use a medium attack (3-8 milliseconds), and adjust the release time to the rhythmic speed of the strumming (use Tuneform)
– Brad from Song Production Pros
How to Compress Fingerstyle Acoustic Guitar
You will want to take a slightly different approach to compress a fingerpicked acoustic guitar.
Because fingerpicking is essentially arpeggiation, where you want each note to be articulate and balanced, the release and attack time are the most critical compressor settings to consider.
Fingerpicking is tricky because each guitar string occupies a different part of a frequency range. Unlike strumming, where the notes blend to create harmony, fingerpicking is a lead line where each note is equally essential.
Again, there are no rules to music. Still, the following recommendation of settings should get most of you 90% of the way there to make your fingerstyle playing shine.
Ratio
The ratio you should use for fingerstyle playing will be determined by how inconsistent your playing is and how dynamic your acoustic guitar is.
For example, suppose you’re playing a spruce top acoustic with a wide dynamic range, and your fingerpicking hand doesn’t have great control. In that case, you may need to use a higher ratio to smooth out the random transients.
You can get away with a more moderate ratio if you’re more skilled or play an acoustic guitar with more natural compression, like a mahogany body.
Attack and Release
You’ll almost always want to use a faster release for fingerstyle guitar playing. You want the snappy reaction of the faster release time to ensure that you don’t increase the sustain of the notes and create a muddy mess.
An 1176-style compressor is often an excellent option for fingerstyle guitar.
The attack time depends on how dynamic the playing is. If the playing is consistent, a slower attack time could work nicely to allow the instrument to breathe forward in the mix.
However, if your recording is dynamic, a medium to fast attack time will help tame individual notes from poking out of the speaker and even the sound.
For fingerpicked guitars, hit 3-5 dB of gain reduction, use a medium to slow attack (3-25 milliseconds), and adjust the release time to the rhythmic speed of the fingerpicking pattern (use Tuneform)
– Brad from Song Production Pros
Advanced Acoustic Guitar Compression
As you become more comfortable mixing and recording acoustic guitars with compression, you may want to start experimenting with more advanced techniques to shape the sound of your instrument.
The following sections will go over some of the most common advanced techniques.
Compressing Stereo Acoustic Guitars
Suppose you’re working with more advanced stereo recordings of your acoustic guitar. In that case, you’ll generally want a compressor that can compress the left and right sides of the stereo field separately.
This is because a stereo recording of acoustic instruments often picks up the resonance from the neck of a guitar and the body/sound hole.
Both of these areas of the guitar live in very different frequency ranges (i.e., different sonic energy). So you’ll need to compress with more nuance and control to make the track sound good.
Parallel Compression
Parallel compression, also known as “New York Compression,” is when you blend in a heavily compressed version of your track underneath the non-compressed recording.
This allows you to thicken, add depth, and stabilize a sound while increasing its perceived loudness without losing the natural dynamics and movement.
Most modern compressor plugins (and some hardware compressors) have a blend knob, making experimenting with parallel compression easy.
The problem with parallel compression is that it’s easy to abuse how much compression you use and then try and compensate with the blend knob. If you’re unsure why you use parallel compression, its effect will usually work against you.
It’s always good to remember this simple mixing rule if you don’t know why you’re doing something, then don’t do it!
Multiband Compression
An acoustic guitar produces many sounds that span the entire frequency range, from finger noise, deep bass resonance, and midrange presence.
Sometimes a standard mono or stereo compressor isn’t flexible enough to control the complexity of sounds produced by an acoustic guitar.
This is where a multiband compressor can be a lifesaver. Mastering engineers often use multi-band compression, and this tool isn’t for beginners.
But suppose you can wrap your head around splitting the frequency range into “bands” and compressing each frequency individually. In that case, you can produce a very smooth and superb acoustic guitar track.
However, get it wrong, and you’ll go down a rabbit hole that you won’t know how to get back out of.
Proceed with caution 🙂
Analog Compression vs. Digital Compression
Analog vs. Digital is a debate as old as time. If you want my honest opinion, digital compression in the form of plugins is good enough for 98% of people out there.
You may read on forums that analog compression sounds thicker by adding warmth, thanks to the physical circuitry in analog units.
From my experience, analog compressors are more forgiving and will help you get a better sound faster. But you can get the same results from plugins if you know what you listen for.
In Conclusion
So, what are the best compressor settings for acoustic guitar? The answer to that question depends on your taste and the specific situation you’re working in.
However, we’ve provided some tips and guidelines in this article that should help you start experimenting successfully with compression and find the best settings for your acoustic guitar recordings.
Thanks for reading!